

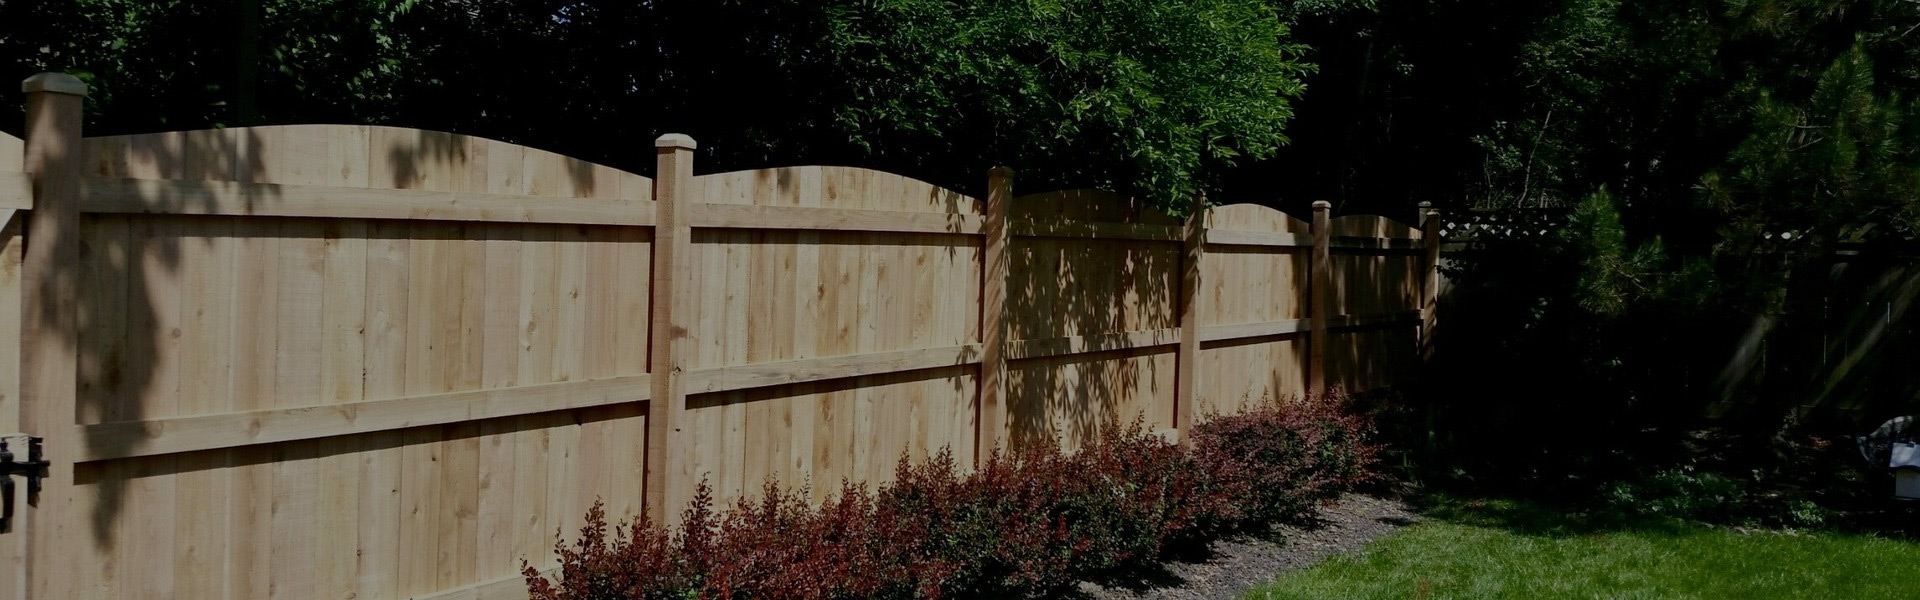
20 Mar Tips on How to Properly Paint a Wood Fence
Wondering what it takes to paint a wood fence and do the job right? Wonder no more – Action Fence in Mundelein has some tips for how to paint your wood fence the right way.
First, there’s some prep work required:
Clear and Cover
Tidy up the area around the fence – mow the grass, clear the area of any toys, gardening implements, etc., and cover or section-off any nearby shrubs to avoid getting paint on them. When the area is clean, put a tarp down in the painting area.
Prep the Fence
Prepping the fence has several steps. First, inspect your fence for loose nails, dangling screws, and cracked boards/rails. Remove all decorations from the fence and the screws/nails holding them up. These can be replaced when you’re finished painting, along with any loose nails you find. Cracked boards should be replaced before painting.
After your inspection, make your fence is as smooth as possible. Take a paint scraper and remove any old paint that’s chipped or flaking. Then sand down all rough areas on the fence so your “canvas” is splinter and knot-free. When this is done, wash your fence with a fence cleaner (you may need to dilute this with water; check the label for instructions). The cleaner can be applied with a thick brush, a rag, or a spray cleaner. When your fence is thoroughly cleaned and free of dirt, debris, moss, etc., let it dry completely. Painting a wet fence is not recommended.
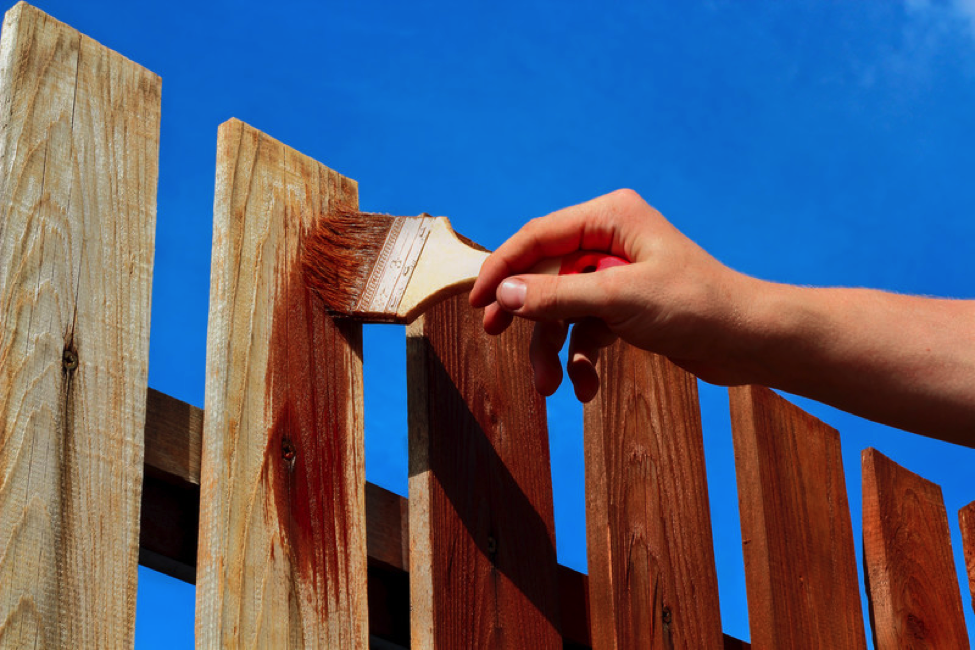
Painting the Fence
Once your fence is fully prepped and completely dry, it’s time to start painting. Make sure you select paint and a primer that are appropriate for wood, and safe for exterior use. For wooden fences, we recommend oil-based paint, since it’s the most durable.
When you have your paint and primer, do a test run by painting a small, out-of-the-way part of the fence and let it dry for 24 hours. Then check it to confirm that it didn’t damage the fence, that you like shade, and that you’re pleased with how the color dries.
Next up: primer. You can use a paintbrush or a roller to apply a layer of primer – just remember that horizontal panels must be painted with horizontal strokes, and vertical panels with vertical strokes. When you’re finished, the primer must dry completely before you start painting. Some primers dry faster than others, so make sure to check the can’s label.
When the primer is dry, you’re ready to paint. Start at the top of the fence and work your way down until every panel is painted. You don’t need to be too conservative with how much paint you use, but try to avoid painting the same area more than once – this will minimize the need to apply a second coat of paint. When you’re done with the first coat, inspect the fence from top to bottom and use your brush to fill in any missed spots, or thicken up areas where the paint is thin.
If you’re happy with the paint’s texture and brightness, you’re done. If you’re dissatisfied, add a second coat after the first coat dries.
Contact Action Fence for more tips and advice on painting wood fences in Mundelein.
Arick
Posted at 02:24h, 15 AprilI was looking for some tips for fence painting and i found his amazing blog. This blog contains easy-to-understand information and full of knowledge. Thanks for sharing.